
Container Gardens
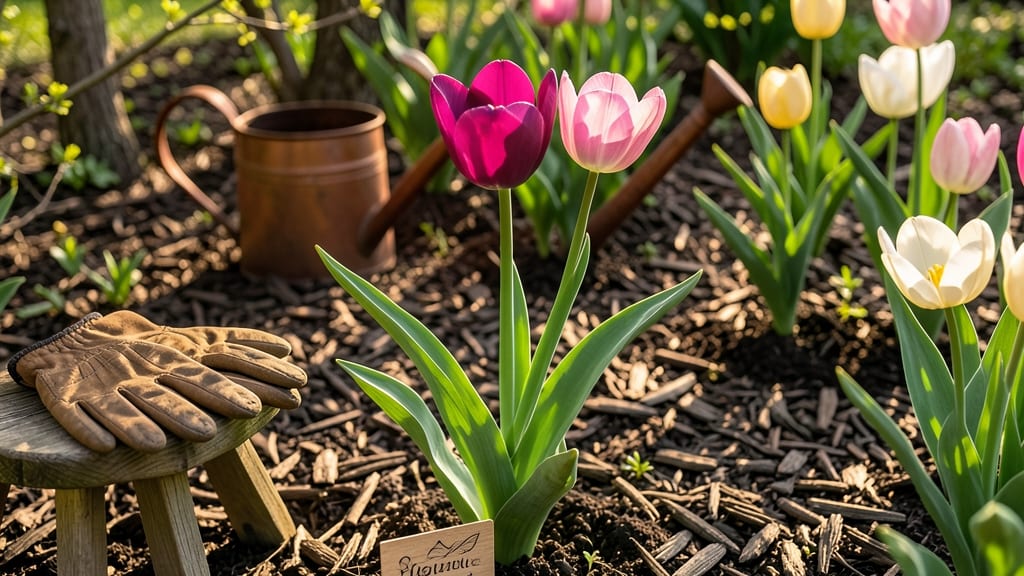
Caring for tulips outside means next year’s blooms start with this one move. 🌱 I’ve watched tulips flop in spring because winter care was ignored—and these secrets keep them thriving. The difference between a single season of flowers and a lasting display?
Proper planting, protection, and patience. Tulips need full sun (6+ hours daily) and well-draining soil—no soggy spots. After blooming, leave foliage until it yellows (6-8 weeks) to feed the bulb. Mulch heavily in fall (4-6 inches) to shield from freeze-thaw cycles. Skip spring fertilizing; tulips store energy underground.
By summer’s end, you’ll see strong stems for bold blooms next spring. The key is consistency: water deeply when planted, protect roots in winter, and resist the urge to cut back too soon. Even my first-year tulips came back stronger than expected.
This works for perennial tulips (Darwin hybrids, species tulips) in zones 3-8. For colder areas, add extra mulch or a frost blanket. Let’s make those tulips last for years—not just one glorious spring.
📚 In This Guide
- What you need
- Instructions
- Tips and common mistakes
- Wrapping up and next steps
What you need
- ● Tulip bulbs: High-quality, disease-free bulbs (choose varieties suited to your USDA hardiness zone).
- ● Well-draining potting mix: 10–12 quarts (for containers) or enrich garden soil with 2–3 inches of compost.
- ● Container or garden bed: For containers: 12–18-inch-deep pots (1 bulb per 5–6 inches of width).
- ● For gardens: Full sun to partial shade, with at least 6 hours of sunlight daily.
- ● Mulch: 2–3 inches of straw, shredded leaves, or pine needles (organic mulch works best).
- ● Balanced fertilizer: 5–10–10 or 10–10–10 (use sparingly—follow package instructions).
- ● Watering can or hose with a gentle spray nozzle.
- ● Garden gloves and trowel.
- ● Bulb fertilizer (e.g., bone meal or bulb-specific food) for extra nutrients.
- ● Frost cloth or light burlap to protect bulbs in early winter.
- ● Soil thermometer to monitor winter ground temps (ideal: 40–50°F for dormancy).
- ● Decorative rocks or pebbles for container drainage and aesthetics.
Step-by-Step instructions for caring for tulips outside
Here's how I keep my tulips thriving year after year—no fancy tricks, just proven care.
🌱 Step 1: Water Deeply After Planting and During Dry Spells
Water your tulips deeply right after planting to help roots establish in the soil. Aim for 1 inch of water per week, either from rainfall or irrigation. You'll know you're doing it right when the top 2-3 inches of soil feel moist but not soggy—tulips hate waterlogged roots.
During the first growing season, focus on keeping the soil consistently moist until the foliage yellows naturally. After that, reduce watering since the bulbs are storing energy for next year. I always check soil moisture by sticking my finger in—if it feels dry past my first knuckle, it's time to water.
☀️ Step 2: Provide Full Sun to Partial Shade
Tulips need at least 6 hours of sunlight daily for strong blooms, but they can handle partial shade in hotter climates. I plant mine where they get morning sun and afternoon shade—this prevents the bulbs from overheating while still encouraging flowering.
Watch for signs of stress: if leaves turn yellow or stems flop over, they might be getting too much heat. In extreme heat, a light layer of mulch helps keep the soil cooler and retains moisture. Just keep it 2-3 inches away from the stems to avoid rot.
✂️ Step 3: Deadhead and Let Foliage Mature
After blooms fade, remove the spent flowers by cutting the stems just above the first set of leaves. This redirects the plant’s energy back into the bulb for next year’s growth. Don’t pull up the entire plant yet—this is critical for bulb strength.
Leave the foliage alone until it turns completely yellow and wilts naturally. This process, called "maturing," ensures the bulb stores enough nutrients for future blooms. I resist the urge to tidy up too soon—patience here pays off in bigger, healthier flowers next season.
⏰ Step 4: Apply Mulch and Prepare for Winter
In late fall, after the ground cools but before freezing, add a 2-3 inch layer of mulch around the tulips. I use shredded leaves or straw—this protects the bulbs from extreme cold and prevents frost heave, where freezing and thawing cycles push bulbs too close to the surface.
In colder climates, a thick layer of mulch (up to 4 inches) helps insulate the soil. In milder areas, a lighter layer is enough. Never mulch directly against the stems, though—keep it at least 1 inch away to avoid moisture buildup and rot.
🌿 Step 5: Fertilize Lightly and Monitor for Pests
In early spring, before new growth appears, apply a balanced, slow-release fertilizer (like 10-10-10) around the base of the plants. Use only half the recommended dose—tulips don’t need much to thrive. Water it in lightly to help it reach the roots.
Keep an eye out for tulip fire disease (a fungal issue causing brown streaks) or squirrels digging up bulbs. If you spot trouble, remove affected plants immediately and dispose of them in the trash—not the compost—to prevent spreading. A few extra bulbs planted as decoys can also deter hungry critters.
Tips & tricks for perfect tulip care outside
Here's what I've learned after years of growing tulips—these little details make all the difference for next year's blooms.
Watering Wisdom: The 1-inch-per-week guideline works best when applied deeply. Use a rain gauge or tuna can to measure—your finger test is great, but it's easy to underestimate how much moisture the soil actually holds. Water in the morning so the foliage has time to dry before evening, which helps prevent fungal issues. And here's the thing: tulips are tougher than they look. If you forget to water for a week, don't panic—they'll bounce back once you resume their routine.
Sunlight Strategy: That 6-hour minimum of sunlight is non-negotiable for strong stems and vibrant blooms, but I've found the morning sun/afternoon shade combo works best in hotter regions. Watch for leaves that look like they've been sunburned—they'll turn yellow with crispy edges. If this happens, move your tulips to a shadier spot immediately. Pro tip: Plant taller varieties on the north side of shorter ones to avoid shading issues between plants.
Deadheading Done Right: When you remove those spent blooms in Step 3, make your cut just above the first set of leaves—this is where the energy factory is. I use clean pruners for this task, and I always sanitize them with rubbing alcohol between cuts to prevent spreading any potential diseases. The real secret? Don't rush to cut the foliage after the flowers fade. That yellowing process is crucial—it's like the plant's way of banking money for next season's show.
Mulch Mastery: That 2-3 inch layer of mulch isn't just for show—it's insulation for your bulbs. I've seen firsthand how a proper mulch layer can mean the difference between tulips that return year after year and ones that disappear. In my zone 5 garden, I add the mulch right after the first hard frost when the ground is still workable. And remember, keep that mulch away from the stems—it's about protecting the soil, not smothering the plant.
Pro Tips for Care For Tulips Outside
- Here's what I've learned after years of growing tulips—these little details make all the difference for next year's b...
- Watering Wisdom: The 1-inch-per-week guideline works best when applied deeply. Use a rain gauge or tuna can to measur...
- Sunlight Strategy: That 6-hour minimum of sunlight is non-negotiable for strong stems and vibrant blooms, but I've fo...
Frequently asked questions
Got questions about keeping your tulips thriving outside year after year?
Here are answers to the most common concerns—so you can enjoy those vibrant blooms for seasons to come!
When is the best time to plant tulips outside for winter survival?
Plant tulip bulbs in fall (6-8 weeks before the first hard frost). This gives roots time to establish before winter. In most regions, aim for October or November. If you miss the window, wait until early spring—but expect smaller blooms the first year.
Do tulips need winter protection, or can they handle the cold?
Most tulips are hardy (zones 3-8), but mulch heavily after the ground freezes (4-6 inches of straw, leaves, or pine needles). In extreme cold (<0°F), add a light layer of burlap or frost cloth over the mulch. Avoid heavy snow piles, which can rot bulbs.
Why do my tulips keep dying after blooming—what am I doing wrong?
Tulips often look dead after flowering, but they’re just resting! Leave foliage until it yellows and wilts (6-8 weeks post-bloom) to feed the bulb for next year. If they die back too soon, cut stems at the base—but never remove leaves until they’re fully brown.
Can I grow tulips in containers outside, or do they need garden soil?
Yes! Use well-draining container mix (add perlite or sand) and pots at least 8 inches deep. Overwinter containers by burying them in the ground or moving to a garage (keep bulbs in darkness at 35–45°F). Water sparingly in winter to prevent rot.
How do I stop squirrels or deer from digging up my tulip bulbs?
Try these tricks:
- Chicken wire cages (bury 6 inches deep around bulbs).
- Hot pepper spray (mix cayenne + water) on foliage.
- Plant daffodils or alliums nearby—deer/squirrels dislike their scent!
- Use repellent granules (like Liqui-Dead) around the bed.
What’s the easiest tulip variety for beginners to grow outside?
Start with Darwin Hybrid tulips (e.g., ‘Apeldoorn’) or Fosteriana tulips—they’re hardy, disease-resistant, and return reliably. Avoid fancy hybrid tulips (like parrot tulips) for first-timers; they’re pricier and less cold-tolerant.
Wrapping up and next steps
Caring for tulips outside doesn’t have to be complicated—just follow these simple steps to ensure vibrant blooms year after year! With the right soil, protection from harsh winters, and a little TLC, your garden will reward you with stunning colors in spring. You’ve got this!
Ready to take your tulip care to the next level? Try experimenting with different varieties or even container gardening for a fresh look. Happy planting! 🌷✨