
Planting
How to get aloe from an aloe plant is easier than you think—your kitchen just needs to become a temporary first-aid lab for a few minutes. 🌱 I’ve spent years perfecting the cleanest way to extract aloe gel without turning your space into a sticky mess, and this method saves you from peeling leaves or dealing with sap everywhere. The key? A sharp knife, a little patience, and knowing exactly where to cut.
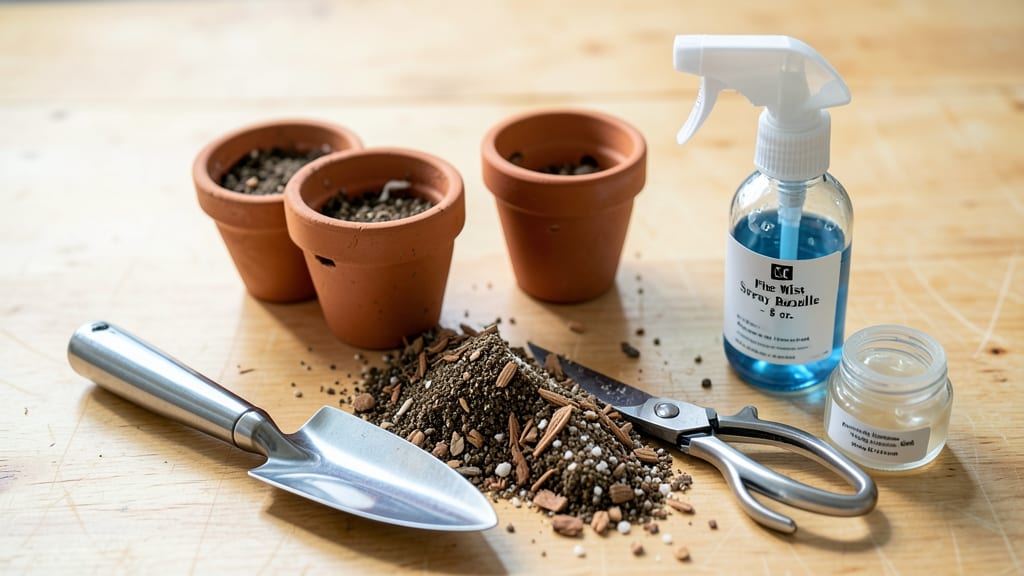
You’ll need just three things: a mature aloe leaf (at least 12 inches long), a clean knife or scissors, and a bowl to catch the gel. No fancy tools—just what’s already in your garden shed.
The process takes under 10 minutes, and you’ll end up with fresh gel ready for burns, sunburns, or skincare, without wasting a drop of the plant.
By the end, you’ll have a thick, clear gel that’s 100% pure, no peeling required. The plant will bounce back stronger, and you’ll avoid the common mistake of over-harvesting—leaving enough leaves so your aloe keeps growing for years.
This is the foolproof way I’ve used for my own plants, and it works every time.
Whether you’re harvesting for first-aid or skincare, this method keeps your aloe happy and productive. Let’s get started—your skin (and plant) will thank you.
📚 In This Guide
- What you need
- Instructions
- Tips and common mistakes
- Wrapping up and next steps
What you need
- ● A mature aloe vera plant (at least 2–3 years old for optimal gel yield)
- ● Sharp knife or pruning shears (sterilized with rubbing alcohol for hygiene)
- ● Cutting board or clean surface (to protect countertops and keep things tidy)
- ● Spoon or spatula (preferably stainless steel or silicone for easy scraping)
- ● Mixing bowl or container (for collecting gel—glass or food-grade plastic works best)
- ● Rubbing alcohol (70% or higher) (to sterilize tools and reduce bacterial risk)
- ● Paper towels or clean cloth (for wiping residue and spills)
- ○ Gloves (optional but recommended) (latex or nitrile to avoid skin irritation from aloe latex)
- ● Blender or food processor (for pureeing gel into a smooth consistency)
- ● Fine-mesh strainer (to remove any fibrous bits if blending)
- ● Air-tight container (for storing gel in the fridge—up to 1 week)
- ● Vitamin E oil or lemon juice (a few drops to preserve freshness and color)
- ● Labeling tape (to mark your aloe gel container with the date)
Step-by-Step instructions for extracting aloe gel safely
Here's the clean, precise method I use to harvest aloe gel without wasting leaves or leaving a mess.
🌱 Step 1: Select and Prepare the Right Leaf
Choose a mature outer leaf that's at least 12 inches long—these are thick, plump, and easy to work with. I always pick the largest, lowest leaves first since they've stored the most gel. Avoid leaves with brown spots or yellowing edges; these indicate stress or disease.
Wear gloves if you're sensitive to aloe's mild irritants. Gently twist the leaf at its base until it snaps cleanly from the plant. The break should be clean—if you're pulling instead of twisting, you're doing it wrong. This method prevents damage to the plant's core.
✂️ Step 2: Cut and Clean the Leaf
Lay the leaf flat on a cutting board with the spiky side facing down. Use a sharp knife to slice off the 1-inch spine-covered tip—this is where most of the aloe's natural latex (which can irritate skin) concentrates. Discard this part or save it for compost.
Next, make a lengthwise cut down the center of the leaf, from base to tip. Open the leaf like a book to expose the clear gel inside. You'll see a yellowish latex layer between the gel and the leaf skin—this is the part that can cause irritation. Scrape it off with a spoon and save it for compost or discard it.
💧 Step 3: Extract the Gel
Scoop out the gel with a spoon, working from the base toward the tip. The gel should come out in thick, translucent strands. For the cleanest extraction, I like to use a silicone spatula—it doesn't scratch the cutting board and makes scraping easier.
Transfer the gel to a clean bowl. If you're using it immediately, you can skip the next step. But if you want to store it, place the gel in an airtight container and refrigerate for up to 1 week. For longer storage, freeze the gel in ice cube trays—just thaw a cube as needed.
🌿 Step 4: Reuse the Leaf and Care for the Plant
Don't toss the leaf skin! Rinse it thoroughly under cold water to remove any remaining latex. Let it dry completely, then chop it into small pieces and compost it. The nutrients will return to your garden, and you'll avoid wasting plant material.
After harvesting, your aloe plant might look a little bare, but it'll bounce back. Water it lightly 2-3 days after harvesting—aloe stores water in its leaves, so it doesn't need frequent watering. Place the pot in bright, indirect light for a few weeks to help it recover before moving it back to full sun.
⏰ Step 5: Use or Store Your Gel
For immediate use, apply the gel directly to minor burns or skin irritations. It's best used fresh, but even refrigerated gel retains most of its soothing properties for a week. If you're making aloe vera juice or lotion, strain the gel through a fine-mesh sieve to remove any remaining fiber.
For long-term storage, freeze the gel in 1-teaspoon portions in ice cube trays. Pop out a cube as needed and let it thaw in the fridge before use. Label your containers with the date—gel keeps its potency for up to 6 months when frozen properly.
Tips & tricks for perfect aloe gel extraction
These little details make all the difference when harvesting aloe gel without the usual mess.
Leaf Selection Matters: In Step 1, focus on leaves that are at least 12 inches long and have a plump, firm feel—these are your goldmines for gel. I've learned the hard way that thinner leaves yield less gel and more bitter yellow sap. Also, avoid leaves with brown spots or damage, as they can affect the gel's purity and soothing properties.
Cutting Technique: When you're making that lengthwise cut in Step 2, hold the leaf steady with one hand and use a sharp knife to make a single, clean cut down the center. The goal is to expose the gel without breaking the leaf into pieces. If your leaf is particularly thick, two parallel cuts work well, but be careful not to cut into the gel itself—this can make scooping messy and reduce your yield.
Gel Preservation: After scooping the gel in Step 3, transfer it immediately to a clean bowl and refrigerate. The cold temperature helps maintain its moisture and prevents oxidation, which can turn the gel yellowish and less effective. I like to use small glass jars with tight-sealing lids for storage—they keep the gel fresh for up to a week in the fridge.
Plant Care After Harvest: In Step 4, when you're composting the leaf skin, make sure to rinse it thoroughly to remove any remaining gel. The nutrients in the skin are great for your plant, but any leftover gel can attract pests. After harvesting, place your aloe in bright, indirect light for a few days to help it recover—this encourages new growth within 2-4 weeks.
Pro Tips for Get Aloe From Aloe Plant
- These little details make all the difference when harvesting aloe gel without the usual mess.
- Leaf Selection Matters: In Step 1, focus on leaves that are at least 12 inches long and have a plump, firm feel—these...
- Cutting Technique: When you're making that lengthwise cut in Step 2, hold the leaf steady with one hand and use a sha...
Frequently asked questions
Got questions about harvesting aloe gel?
You’re not alone! Here are answers to the most common queries—so you can extract fresh aloe gel like a pro.
How do I know when my aloe plant is ready to harvest?
Your aloe plant is ready when the leaves are fully mature—typically 2–3 years old or longer. Look for thick, plump leaves (at least 8–12 inches long) with a greenish-gray hue. Avoid harvesting leaves with brown tips or spots, as they may be damaged or overripe.
How often can I harvest aloe from the same plant?
Give your aloe plant time to recover! Harvest no more than 1–2 leaves per plant every 6–12 months. Overharvesting weakens the plant and reduces future yields. If you need aloe frequently, consider growing multiple plants.
What’s the best way to remove aloe leaves without damaging the plant?
Use a clean, sharp knife to cut the leaf at the base, close to the stem. Avoid tearing—this can harm the plant. Pull the leaf straight out (don’t twist) to minimize damage. After harvesting, let the leaf sit for 10–15 minutes to allow the yellow latex (aloe vera sap) to drain.
Can I use store-bought aloe gel instead of fresh?
Yes! Store-bought aloe gel is convenient, but fresh aloe has more enzymes and nutrients. If you choose bottled aloe, opt for pure, 100% aloe vera gel with no added dyes or alcohols. For skincare, fresh aloe is often more effective for soothing burns or irritation.
What should I do if my aloe plant turns yellow or mushy after harvesting?
Yellowing or mushy leaves can signal overwatering, root rot, or stress. Let the soil dry out completely between waterings, and ensure the plant has well-draining soil. If rot is severe, trim affected leaves and repot in fresh soil. Keep the plant in bright, indirect light to help it recover.
Is it safe to eat fresh aloe gel?
Yes, but only if properly prepared! Raw aloe gel contains aloin, a compound that can cause stomach upset. To make it edible, peel the leaf, remove the yellow latex, and blend the gel. Start with small amounts (1 tsp) to test tolerance. Some people juice it for digestive benefits, but consult a doctor if you have health concerns.
Wrapping up and next steps
Extracting aloe gel from your plant is simpler than you think—and now you’ve got all the tools to do it cleanly and efficiently! Whether you’re soothing sunburns, whipping up skincare treats, or just curious about your plant’s healing powers, you’re ready to harvest like a pro. 🌿✨
Your next step? Experiment! Try blending the gel into smoothies, mixing it into DIY face masks, or sharing your newfound skills with a friend who could use some natural relief. The possibilities are as endless as the benefits of aloe—happy harvesting! 💚