
How To
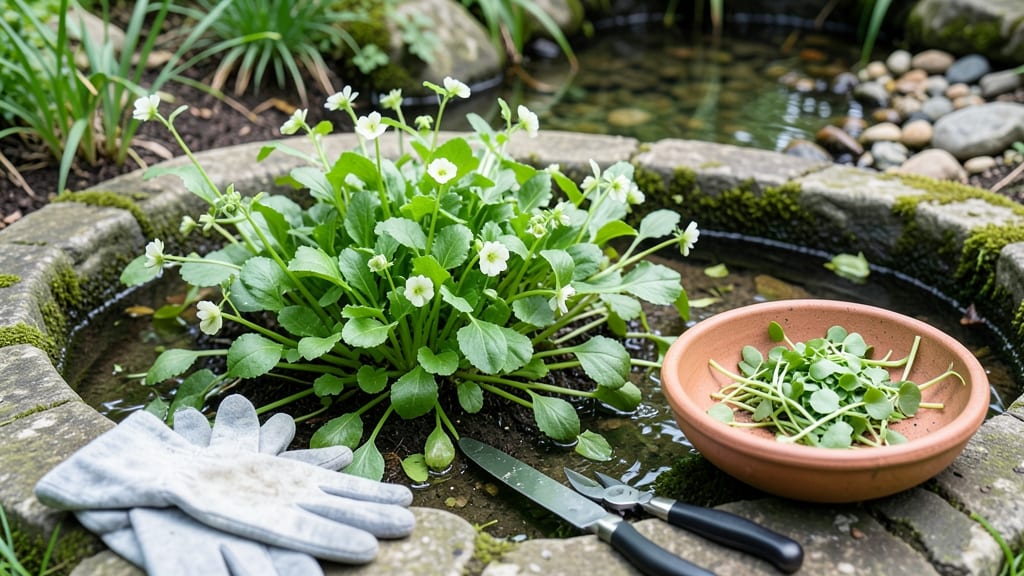
If you’ve ever wondered how to harvest watercress without sacrificing future growth, you’re in the right place. This fast-growing 🌿 herb thrives when picked at the perfect moment—too soon, and you lose flavor; too late, and it bolts or turns bitter.
The key is timing, technique, and knowing exactly when to snip those tender leaves for maximum freshness.
Watercress is a powerhouse of nutrients, but its delicate nature means harvesting it wrong can ruin your crop. Whether you’re growing it in a shallow stream, a garden bed, or even a container, the right approach ensures a continuous harvest from April through October.
I’ll show you how to identify the ideal leaves, use the proper tools, and cut without damaging the plant—so you can enjoy fresh, crisp watercress for weeks.
Beyond the basics, I’ll share pro tips to extend your harvest season, like how to revive wilted leaves and avoid common mistakes that lead to bitter flavors. Plus, you’ll discover creative ways to use your harvest, from salads to smoothies, so nothing goes to waste.
Let’s dive into the simple, sustainable way to keep your watercress thriving all season long.
Ready to transform your garden into a never-ending supply of this superfood? By the end of this guide, you’ll know exactly when to pick, how to store your harvest, and even how to encourage regrowth for a longer, more abundant crop. Your taste buds—and your plants—will thank you!
Optimal harvesting time for watercress: when to pick for peak flavor and growth
Timing your watercress harvest is everything—pick too soon, and you’ll miss the peak flavor; wait too long, and the leaves turn bitter or the plant bolts.
The ideal time to harvest is when your watercress reaches 4-6 inches tall with tender, bright green leaves that are 2-3 inches long. This usually happens 30-45 days after planting, depending on your climate and growing conditions.
For continuous harvests, aim to pick outer leaves first, leaving the inner growth points intact. This encourages regrowth and keeps your plants productive for weeks or even months.
I’ve found that harvesting every 7-10 days in warm months or every 10-14 days in cooler weather keeps my watercress thriving without stressing the plant.
Seasonal timing also matters: in spring and fall, watercress grows faster, so you can harvest more frequently. During summer heat, growth slows, and leaves may develop a bitter taste if left too long.
Always check for tender stems and crisp leaves—these are your cues that the plant is ready.
Here’s a quick visual guide to help you spot the perfect harvest time:
| Harvest Stage | Plant Characteristics | Action |
|---|---|---|
| Early Growth | Leaves < 2 inches, stems woody | Wait; avoid harvesting |
| Ideal Harvest | Leaves 2-3 inches, bright green, tender | Harvest outer leaves; leave center |
| Overgrown | Leaves bitter, stems thick, bolting | Trim aggressively; reduce future harvests |
One common mistake I see is harvesting entire plants instead of just the outer leaves. This shocks the plant and can stunt regrowth. Instead, use your thumb and forefinger to pinch off leaves at the base, leaving at least half the plant intact.
This method keeps your watercress productive and prevents bolting.
If your watercress starts to bolt (send up tall flower stalks), it’s a sign you’ve waited too long to harvest. Bolted watercress is still edible but loses its mild, peppery flavor.
To prevent this, harvest regularly and avoid letting plants grow beyond 6-8 inches tall. In my garden, I set a reminder to check watercress every 5-7 days during peak growing season.
For year-round harvesting, consider growing watercress in containers or near a shallow water source. These setups let you harvest continuously, even in cooler months. Just be mindful of frost: watercress won’t survive freezing temps, so bring pots indoors or use row covers in fall.
Pro tip: Harvest in the morning when leaves are crisp and hydrated. This ensures the best flavor and texture for salads or cooking.
Store harvested watercress in a perforated bag in the fridge for up to 5 days, or wrap it in a damp paper towel to keep it fresh longer.
Remember, the key to a successful watercress harvest is consistency. By picking at the right time and using gentle techniques, you’ll enjoy fresh, flavorful greens all season long. Happy harvesting!
Step-by-step watercress harvesting techniques: tools, methods, and post-harvest care
Harvesting watercress correctly ensures a continuous supply of tender, flavorful leaves while keeping your plants healthy. Start by gathering your tools: a sharp pair of pruning shears or clean scissors, a bowl of cool water, and a knife for trimming larger stems.
Always work on a dry day to avoid spreading soil or pests.
For hand-picking, use your fingers to gently pinch off the outer leaves just above a leaf node. This encourages regrowth from the base while leaving the plant intact.
Avoid pulling entire stems, as this can damage the plant and reduce future yields. Focus on leaves that are 2-3 inches long and bright green.
🌱 Step-by-Step Harvesting Guide
- Step 1: Choose mature leaves (2-3 inches) for harvest.
- Step 2: Use sharp scissors to cut 1/3 of the plant at a 45-degree angle.
- Step 3: Rinse leaves immediately in cool water to remove dirt.
- Step 4: Store in damp paper towels in the fridge for up to 5 days.
- Step 5: Reapply high-nitrogen fertilizer after harvesting to boost regrowth.
When harvesting larger batches, use pruning shears to cut stems just above the soil line or water surface. Leave at least 2 inches of growth to ensure the plant recovers.
For container-grown watercress, trim stems evenly to maintain balance and prevent toppling. Always sanitize your tools with rubbing alcohol between uses to prevent disease spread.
After harvesting, rinse your watercress thoroughly under cool, running water to remove dirt and debris. Gently shake off excess water and pat dry with a clean kitchen towel or paper towel. Store harvested leaves in an airtight container lined with a damp paper towel in the refrigerator.
This keeps them crisp for 3-5 days. For longer storage, blanch and freeze leaves in ice cube trays for up to 3 months.
If your watercress starts to wilt after harvest, place it in a bowl of cool water for 10-15 minutes to revive it. Trim any yellow or damaged leaves before storing.
To encourage regrowth, fertilize with a balanced liquid fertilizer (10-10-10) every 4-6 weeks during the growing season. Avoid over-fertilizing, as this can lead to bitter-tasting leaves.
Remember, consistent harvesting is key to a thriving watercress patch. Aim to harvest every 2-3 weeks during the growing season, and reduce frequency in fall and winter when growth slows. With the right techniques, you’ll enjoy a continuous supply of fresh, homegrown watercress all season long! 🌿