
How To
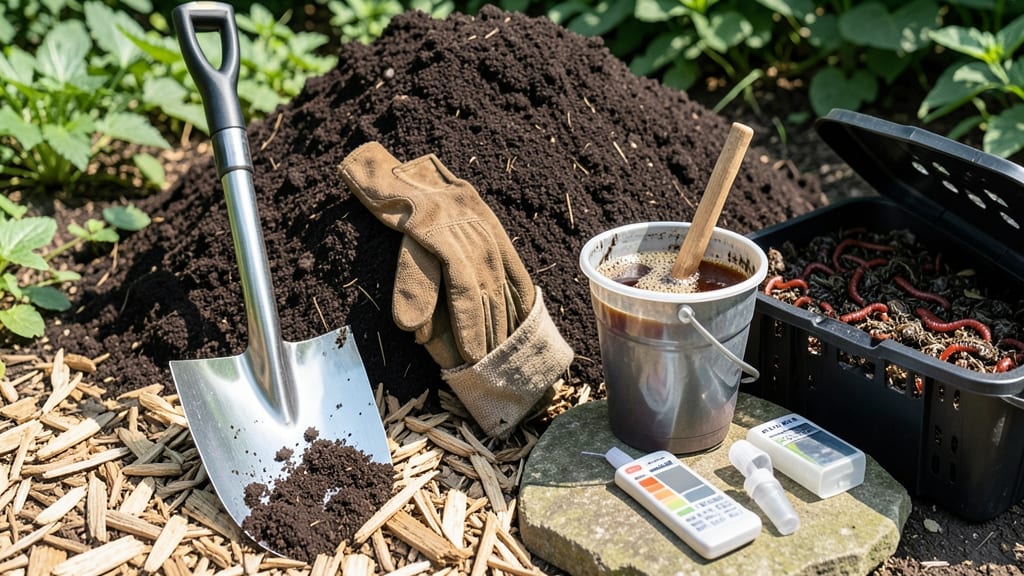
Your soil feels like sandpaper under your fingers—time to change that. 🌱 Increasing organic matter transforms compacted dirt into a thriving ecosystem where plants drink up nutrients instead of struggling. The secret isn’t fancy tools but simple layers: compost, mulch, and a little patience.
Start with a soil test (or the "squeeze test"—if it crumbles like dust, it’s hungry). For clay soil, mix in 3-4 inches of compost and coarse sand; for sandy soil, add peat moss or coconut coir to hold moisture.
The goal? 3-5% organic matter—enough to make your soil dark, crumbly, and alive with microbes. By spring, you’ll see roots spreading like highways through rich, dark loam. Water retention improves, weeds struggle, and plants grow stronger, faster, and with fewer fertilizers.
Even a small garden bed can become a powerhouse with this approach. Works year-round, but fall is ideal—give nature time to break down materials before planting season. No more guessing what your soil needs—just feed it right. Let’s get started!
📚 In This Guide
- What you need
- Instructions
- Tips and common mistakes
- Wrapping up and next steps
What you need
- ● Browns (Carbon-Rich Materials): Dry leaves – 1-2 buckets (shredded for faster breakdown)
- ● Straw or hay – 1-2 bales (avoid seed heads to prevent weeds)
- ● Cardboard or newspaper – 2-3 sheets (shredded, no glossy ink)
- ● Wood chips or sawdust – 1-2 buckets (untreated, not from painted wood)
- ● Greens (Nitrogen-Rich Materials): Fresh grass clippings – 1-2 buckets (lightly wilted to avoid matting)
- ● Vegetable/fruit scraps – 1-2 gallons (avoid meat/dairy/fats)
- ● Coffee grounds – ½ bucket (adds nitrogen and microbes)
- ● Fresh manure (cow, horse, or chicken) – 1-2 buckets (well-aged, not fresh)
- ● Soil & Microbes: Garden soil or compost starter – 1-2 buckets (to kickstart decomposition)
- ○ Worm castings (optional but highly recommended) – ½ bucket (adds beneficial microbes)
- ● Garden fork or spade – for turning layers
- ● Gloves – to protect your hands (trust us, coffee grounds stain!)
- ● Watering can or hose – keep materials moist but not soggy
- ● Wheelbarrow or large bin – for mixing (at least 3 cubic feet of space)
- ● Shovel or pitchfork – for layering and aerating
- ○ pH test kit (optional) – to check soil acidity (ideal: 6.0-7.0)
- ● A designated composting area – sunny spot with partial shade (6"x6" minimum)
- ● Access to a water source – for consistent moisture
- ● Patience! – Organic matter builds over 3-12 months (depending on conditions)
Tips & tricks for perfect layered compost blends
Here's what I've learned after years of turning kitchen scraps into garden gold—tricks that make all the difference between compost and magic soil.
Carbon-Nitrogen Balance: In Step 1, your 50-50 ratio of browns to greens is critical, but don't rely only on smell. Use the "squeeze test" instead: If your mix wrings out like a wet sponge, it's too wet (add more browns). If it crumbles like dry bread, it needs moisture (add greens). This visual cue works better than sniffing, especially for beginners. The perfect texture should feel like a damp, crumbly cookie dough.
Layering Precision: When building your layers in Step 2, think of it like lasagna—each layer has a job. The 4-inch bottom layer of coarse browns isn't just for looks; it creates essential airflow channels. I like to use twigs or straw here because they create vertical pockets that microbes love. Pro tip: Use a ruler to measure your 2-inch layers—eyeballing can lead to uneven decomposition. The top brown layer acts as a pest deterrent, so keep it slightly drier than the rest.
Temperature Troubleshooting: That 100-140°F range in Step 3 is your sweet spot for microbial activity. To check temperature without fancy tools, stick your hand in (protected by gloves!)—if it feels too hot to hold comfortably, it's too hot. Too cool? Your pile's working too slowly. I've found that adding a handful of finished compost to each new layer jumpstarts microbial activity, helping reach that ideal temperature faster. This is especially helpful in cooler climates.
Seasonal Timing: For Step 4, timing matters. In spring, when you're top-dressing annuals, compost integrates fastest because soil is already warming. But in fall, work it into the top 6 inches before the first frost—this gives microbes time to colonize before winter dormancy. I've noticed plants show the most dramatic improvement when compost is applied 2-3 weeks before planting, giving nutrients time to become available.
Pro Tips for Increase Organic Matter In Soil
- Here's what I've learned after years of turning kitchen scraps into garden gold—tricks that make all the difference b...
- Carbon-Nitrogen Balance: In Step 1, your 50-50 ratio of browns to greens is critical, but don't rely only on smell. U...
- Layering Precision: When building your layers in Step 2, think of it like lasagna—each layer has a job. The 4-inch bo...
Frequently asked questions
Got questions about boosting organic matter in your soil? You’re not alone! Here are some of the most common concerns—and straightforward answers—to help you get started (or troubleshoot) with confidence.
How long does it take to see results from adding organic matter?
Results vary, but you’ll often notice improvements within 3–6 months for lighter, fluffier soil. For deeper changes—like better water retention or root growth—give it 6–12 months. Consistency is key! Layer fresh compost or mulch annually to speed things up. Pro tip: Test your soil’s organic matter percentage (aim for 5–10%) with a simple home kit for progress tracking.
Can I use kitchen scraps directly in my garden?
Not always! Raw scraps like citrus peels, onions, or meat can attract pests or create odors. Instead, compost them first (use a bin or tumbler) for 2–3 months. For quick fixes, bury scraps 6+ inches deep or mix them into a layered compost blend to balance nutrients safely. Skip: Dairy, meat, or oily foods.
What’s the best time of year to add organic matter?
The ideal window is early spring or fall—when soil is workable but not frozen. Spring kickstarts microbial activity for the growing season, while fall lets organic matter break down over winter. Don’t wait! Even in summer, top-dress with mulch or compost to protect soil moisture and feed plants gradually. Winter hack: Spread leaves or straw as mulch to insulate soil.
Are there cheap (or free) alternatives to store-bought compost?
Try these zero-cost options:
- Leaf litter: Shred dry leaves and mix into beds (they’re packed with carbon!).
- Grass clippings: Use them fresh in a 1:2 ratio with browns (like straw) to avoid matting.
- Weeds (seed-free!): Chop and drop broadleaf weeds like dandelions (skip those with seeds).
- Manure: Aged cow, horse, or chicken manure (free from local farms!) adds nitrogen.
Why does my compost smell bad even after adding organic matter?
Bad odors usually mean too much nitrogen (greens) or not enough oxygen. Fix it by:
- Adding browns (dry leaves, straw, cardboard) to balance moisture.
- Turning the pile weekly to aerate (or use a tumbler).
- Avoiding meat/dairy or overwatering.
Wrapping up and next steps
Increasing organic matter in your soil doesn’t have to be complicated—just consistent! By blending compost layers, using natural amendments, and adopting sustainable practices, you’ll transform your garden into a thriving ecosystem. Start small, stay patient, and watch your plants flourish like never before.
Ready to take the next step? Pick one method from this guide—whether it’s building a compost pile, mulching, or amending with manure—and give it a try this season. Your soil (and future harvests) will thank you! 🌱✨