
Watering
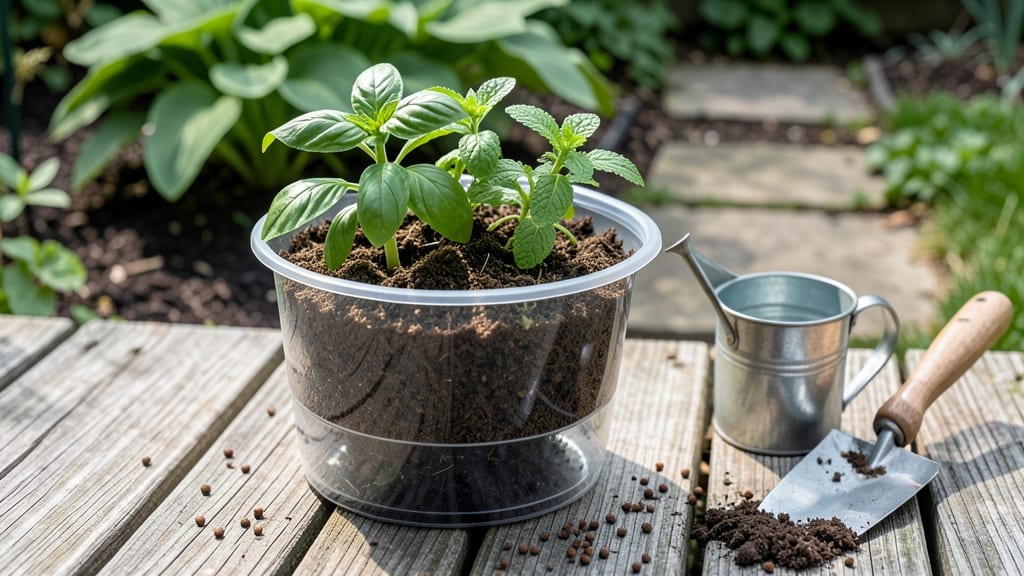
Fill self-watering pots by adding potting soil to the top chamber first, then pouring water into the bottom reservoir until the soil is evenly moist but not soggy. The wicking system will distribute moisture gradually to roots as needed.
Filling self-watering pots correctly ensures your plants get consistent hydration without overwatering.
The key is understanding how the wicking system works—it draws water upward through capillary action, so the soil stays evenly damp without becoming waterlogged. 🔥 I've found that using a well-draining potting mix with added perlite helps maintain the right moisture balance while preventing root rot.
Start with dry soil, then add water slowly until it reaches the top layer, which signals the reservoir has done its job.
What makes this method so effective is how it mimics natural rainfall patterns. Unlike traditional pots where water pools at the bottom, self-watering systems deliver moisture directly to the root zone where plants need it most.
This is especially helpful for busy gardeners or when you travel, as it can keep plants hydrated for 1-2 weeks depending on the pot size and plant type. Just remember to check the soil moisture occasionally—some plants like succulents prefer drier conditions even with this system.
For best results, I recommend using a moisture meter or simply sticking your finger 1-2 inches into the soil. If it feels dry, it's time to refill the reservoir.
The beauty of these pots is their flexibility—they work for everything from herbs to tomatoes, as long as you match the plant's water needs to the pot's capacity. This system has completely changed how I approach container gardening!
💡 In This Article
- Why Proper Water Placement Matters in Self-Watering Containers
- Step-by-Step Filling Process for Different Self-Watering Pot Types
Why proper water placement matters in self-watering containers
The magic of self-watering pots lies in their ability to replicate natural water absorption through capillary action. When you add water to the reservoir, it travels upward through a wicking material (often a fabric or porous ceramic) to reach the roots.
This process ensures moisture reaches the soil evenly, preventing dry pockets that can stress plants. Unlike traditional pots where water pools at the bottom, self-watering systems distribute hydration from the root zone outward, mimicking how plants absorb water in nature.
The drainage layer at the bottom—usually 1-2 inches of pebbles, gravel, or expanded clay—plays a critical role. This layer creates an air pocket that prevents root suffocation while allowing water to rise through the wick.
Overfilling the reservoir can drown roots by eliminating this crucial air space, while too little water leaves plants thirsty. The ideal balance keeps the soil consistently moist but not soggy, with the top 1 inch of soil staying slightly drier to signal when refilling is needed.
Root health depends entirely on this aeration-moisture balance. When roots sit in stagnant water, they suffocate from lack of oxygen—a condition called anaerobic stress. This leads to yellowing leaves, stunted growth, and even death.
The wicking system's design solves this by maintaining a dynamic equilibrium: water moves upward only as fast as the plant consumes it. For example, herbs like basil need frequent small sips, while succulents thrive with minimal, infrequent hydration—both can be accommodated by adjusting reservoir levels.
Temperature also affects how efficiently the system works. In hot climates, water evaporates faster, so the reservoir may need refilling every 3-5 days. In cooler weather, plants drink less, extending the time between water additions to 1-2 weeks.
The wick material matters too—cotton or burlap wicks work well for most plants, but ceramic wicks (like in some high-end pots) distribute water more evenly but can clog if not cleaned periodically. Always use filtered or distilled water to prevent mineral buildup that could block the wicking mechanism.
Visual cues help gauge when adjustments are needed. If the soil surface stays dry despite a full reservoir, the wick might be clogged or the drainage layer too thick. Conversely, if water pools on top, the reservoir is overfilled.
The goal is to see the wick material (like fabric) appear slightly damp but not soaked—this indicates optimal moisture delivery. For container gardens, this precision means healthier plants with fewer pests, as consistent moisture discourages fungal issues that thrive in either too-dry or waterlogged conditions.
Think of it like a plant's hydration IV drip: the reservoir is the bag, the wick the tubing, and the soil the patient. When all components work together, roots get exactly what they need—no more, no less.
This system isn't just convenient; it's a game-changer for plant longevity and vitality. 💫